Wednesday Crafternoons
It’s Wednesday. Let’s Make Some Nail Art!

07.15.20
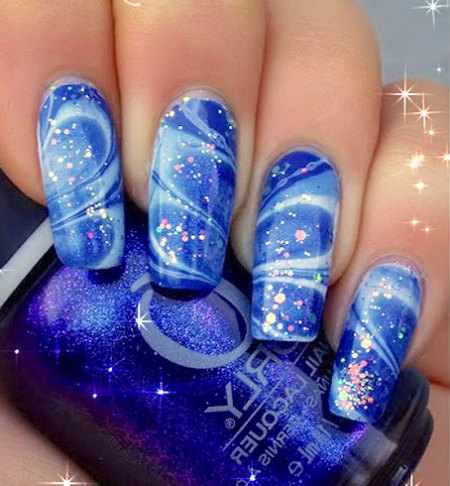
Gorgeous! But why do temporary when you can create something permanent?
Oops! Did we say nail art?

Gorgeous! But why do temporary when you can create something permanent?
We meant nail polish art or better yet known as water marble art.
We know.
Sounds real fancy BUT super easy to do!
Similar to decoupage, it's a simple way to update your home decor without spending a ton of money.
It works on just about any smooth surface from glass and metal to wood.
You can use it to make art prints or enhance decorative objects like mugs and vases.
Just be sure to craft near an open window. Nail polish stinks!
So without further ado, we present to you the art of marbling.
All you need is water, cardstock, a plastic or aluminum tray and of course, nail polish.
Disposable gloves and a table cover may also be useful.
In other words, be prepared to get messy.
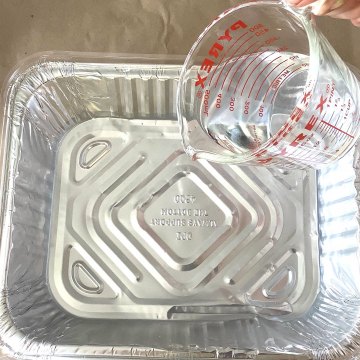
Step 1
Fill tray with water.
Use a container that you can repurpose for non-kitchen use or for crafting only.
Add about one to two inches of water.
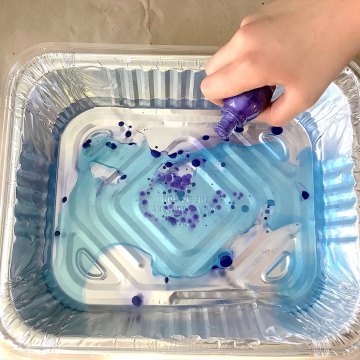
Step 2
Pick and pour.
Choose your nail polish colors.
Two is a great start.
Then, slowly pour all over the water.
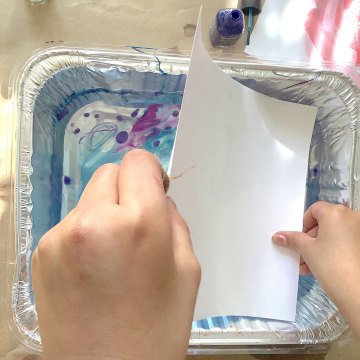
Step 3
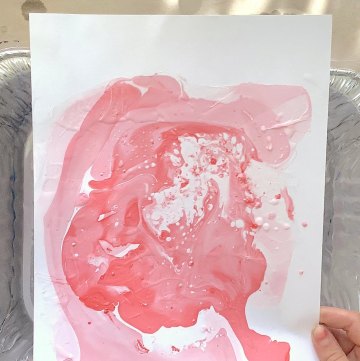
Quickly immerse object.
Gently press down/roll object in the tray.
Remember, not all nail polishes are made equal.
Test out transfer with scratch paper first. Sinful Colors is a good cheap brand that works well.
Step 4
Lift and let dry.
Hold object in for a minute and then, lift out.
Lay flat to dry overnight.
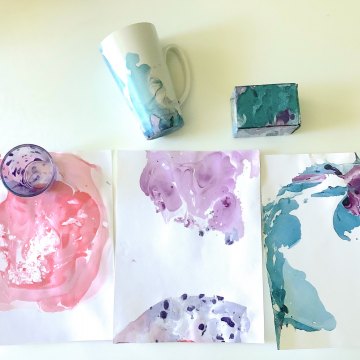
NAILED IT!
Easy peasy lemon squeezy.
What else can you find to decorate?
Brighten up your home some more with a splash of marble art.
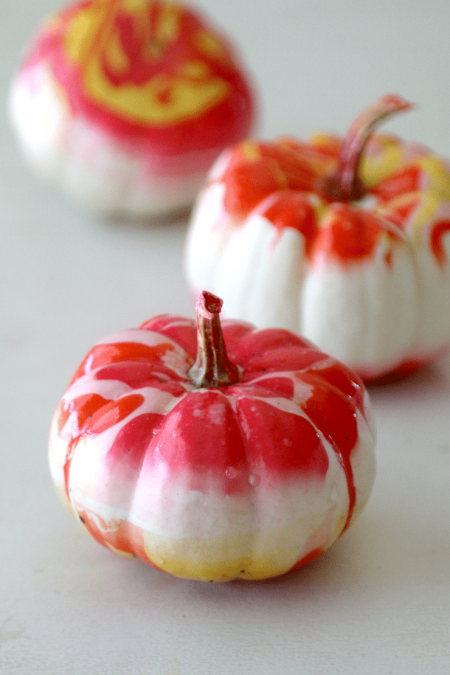
Check out these other nail polish marbling tips and spice up your seasonal decor.
The color scheme possibilities are endless.
You won't regret it. ✨
Done for good? Then, it's time to clean up.
Use a paper towel to gather any leftover polish in the water and throw out.
Make the most out of your messy crafternoon?
SHOW US!
Snap a couple of photos, tag them #DPCrafternoons and share with us on Facebook and Instagram.
See you next week!